Hello and thanks for visiting!
Today's card is inspired by two challenges. Please click on the hyperlinks below to visit the blog challenges and enjoy the inspiration, then go have some fun & make a card :)
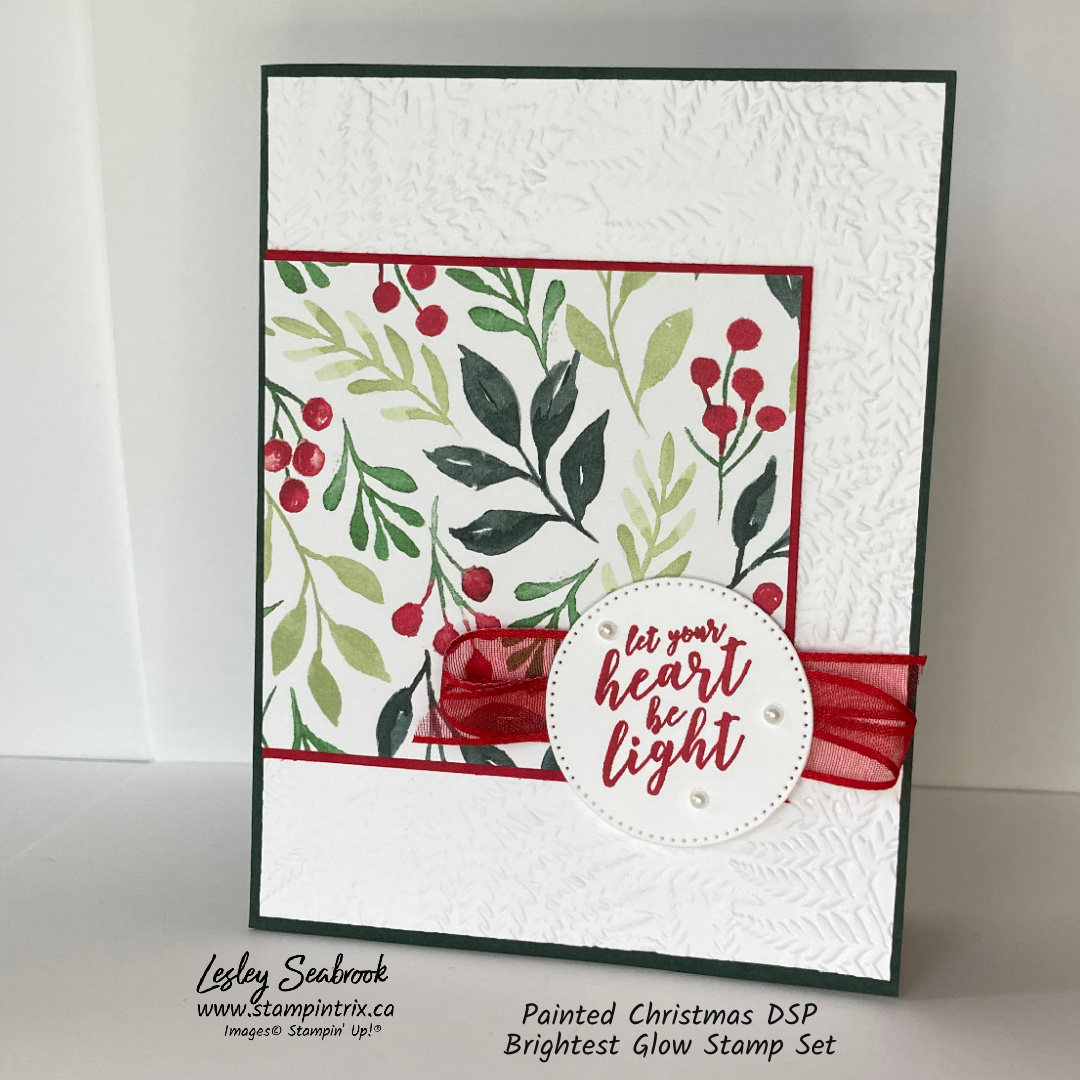
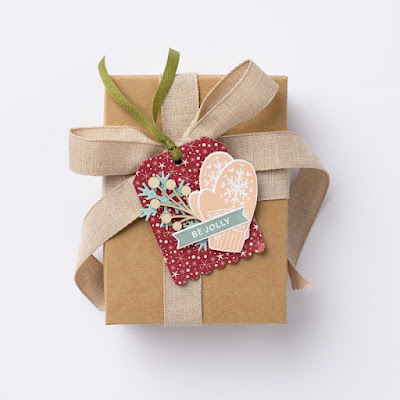
This week the Retro Rubber Challenge #194 is challenging us to use 90's Colours, I chose, Pretty Peacock (dark teal), Sweet Sorbet (red), Cajun Craze (dark terracotta), Kraft (brown). We have a Blue Spruce in our front yard and I love the contrast of the blue needles and the reddish brown cones.
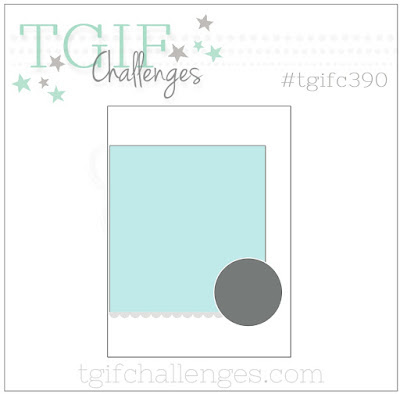
Jen T's Sketch Challenge over @ Freshly Made Sketches inspired the design of my card, I used the pinecones to capture the three circles, and made the 'message' the star. Do you ever use the 'message' on the front of your card and add the 'greeting sentiment' to the inside? I love this message for a Christmas card and it fits great in the big circle.

Assembly & Trix,
* Die cut the circle with the Stylish Shapes Die, #159183 from a 4 x 5 1/4 piece of Basic White cardstock.
***Trix, use the Stamparatus, #146276 to line up the circle layer with the 4 1/4 x 5 1/2 Thick Basic White card base, remove the circle layer and stamp using the Retired Peaceful Boughs stamp set, #150541 - from the June 2020 to May 2021 Annual Catalogue - using Sweet Sorbet ink.
* Die cut the boughs and pinecones from the retired coordinating Beautiful Boughs Dies, #150661 from Cajun Craze cardstock, #119684 & Kraft Paper, #156325 and retired Pretty Peacock cardstock. ***Trix, use Adhesive Sheets, #152334 to die cut the Cajun Craze part of the pinecone.
* Layer the boughs and pinecones as you wish. ***Trix, use a combo of adhesives to build dimension, glue, glue dots and dimensionals. Embellish with Crumb Cake Baker's Twine, #155475
** A couple of other sets from the July to December 2022 Mini Catalogue that I think would work beautifully with this sketch are, Leaves Of Holly Bundle, #159608 - or - Decorated With Happiness Bundle, #159711 **

*** Click here to shop and please remember to use the monthly Host code to receive a little gift from me when your shopping cart is between $60 - $135. October Host Code PWQSXHBJ
- Or -
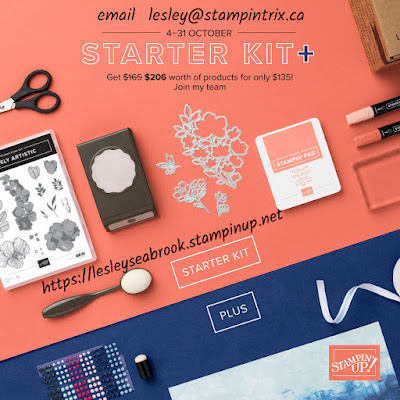
Consider adding your products to a Starter Kit & Join the Fun!
Today is the last day for the Stampin' Up!® Joining Special
Choose $206 worth of products and pay $135, no tax or shipping (in most provinces)
Click the image to visit the Join page of my online shop
 |
| Please click the image to Join the Fun! |
I enjoyed the discount for 5 years before I decided to start my online business. Please email me lesley@stampintrix.ca if you have any questions. I'm always happy to talk about the company and products I love!
Enjoy & have a super day!


.jpg)