Hello and thanks for visiting!
Today's card was created for Kylie Bertucci's Monthly International Blog Highlights Gallery. If you like my card I'd love for you to vote for it. Simply click here to visit Kylie's Gallery and click on the little heart in the top right corner of my card within the gallery. If my card is chosen then I have the opportunity to join Kylie's International Blog Hop at the end of the month. Thanks so much for your support! Enjoy the gallery and all the inspiration I know you will find there.
 |
| Click my card to visit Kylie's February International Blog Highlights Gallery |
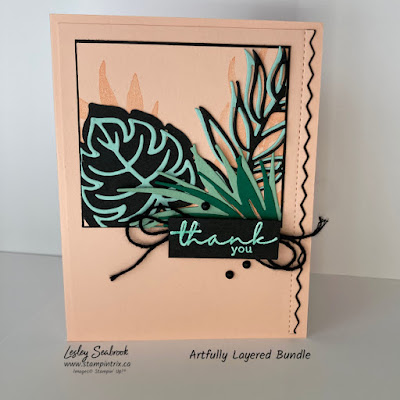
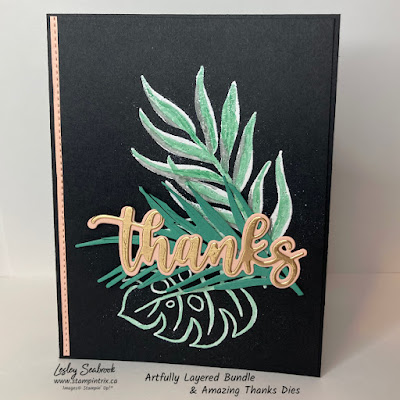
The fantastic Artfully Layered Bundle includes the Artfully Layered Stamp Set & Tropical Layers Dies. I added in the Amazing Thanks Dies for an extra bit of dimension.
 |
| Click the image to visit Kylie's International Highlights Gallery |
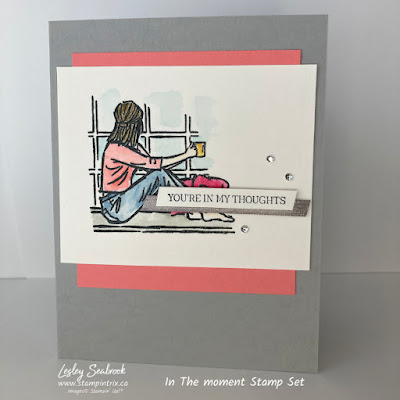
And here's the card details:
4 1/4 x 5 1/2 Basic Black card base (5 1/2 x 8 1/2 folded in half portrait orientation)
4 x 5 1/8 Basic Black Cardstock (CS) layer
1/4 x 5 1/8 Petal Pink CS
Artfully Layered Bundle Item #157761
Amazing Thanks Dies Item #157816
3 x 4 piece of Just Jade CS for the die cut palm leaf
4 x 2 piece of Petal Pink CS for the 'thanks' die
4 x 2 piece of Gold Foil Sheet
White Embossing Powder
VersaMark Ink
Stampin' Blends Markers in Just Jade & Smoky Slate
*** Click here to shop the supplies to create this card. Please remember to use the monthly Host Code when your shopping cart is between $60 and $135. Then I'll send you a little thank you gift in the mail the following month. January's Host Code is VWEZDEJ4
Assembly & Trix:
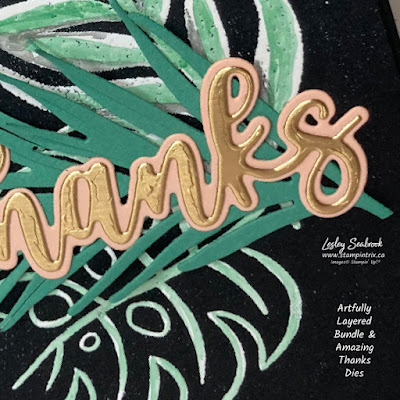
* Heat Emboss the Artfully Layered stamps with VersaMark Ink & White Embossing Powder. *** Trix, colour the embossed area with blends for colour dimension.
* Die cut the two different 'thanks' dies from the Petal Pink and Gold Foil. Adhere together with Multipurpose Liquid Glue (glue)
* Adhere the thanks sentiment to the Just Jade die cut with Mini Glue Dots, then adhere to the embossed layer.
* Die cut the strip of Petal Pink with the Tropical Layers dies with the detailed edge die, then adhere to the Basic Black layer with glue.
* Adhere the layer to the card base with glue.
*** Click @lesleystampintrix for a quick Instagram Reel on how I created this card.
*** To watch the full video with Trix & Tips on YouTube click here
It's time for the Freebies :)
 |
| Click the image to see all the free Sale-A-Bration products |
*** During Sale-A-Bration, you'll also get your choice of any two stamp sets for Free if you choose to Join our Creative Community!
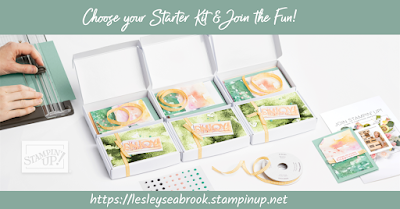
How does this work you ask?
*** Simply choose $165 of product & pay $135 - no shipping or taxes (in most provinces) and enjoy an ongoing discount of 20% on future orders.
It's simply the best value for the dollar. Choose your favourites as your 'Starter Kit', there is no commitment to sell or promote Stampin' Up!® products unless you wish to. I purchased the Starter Kit to save money and enjoyed a discount on my purchases for 5 years until I decided to start my online business.
***Click here to Join the Fun! ***
Please email me lesley@stampintrix.ca if you have any questions. I'm always happy to talk about the company and products I love!
 |
| Click the image to Join the Fun |
Enjoy and have a super day!