Hello, thanks for visiting!
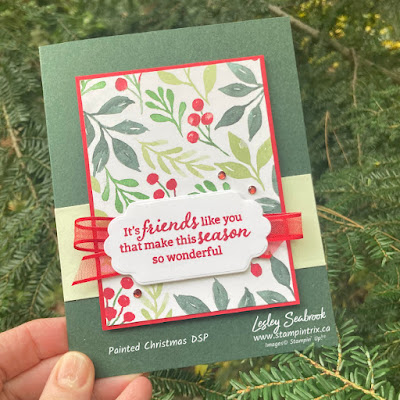
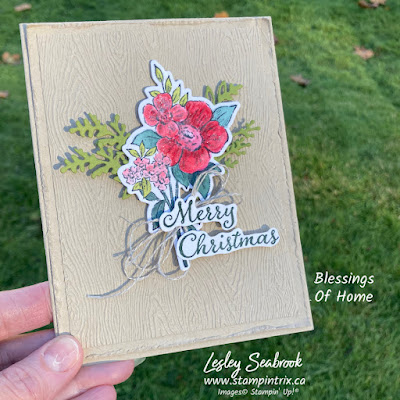
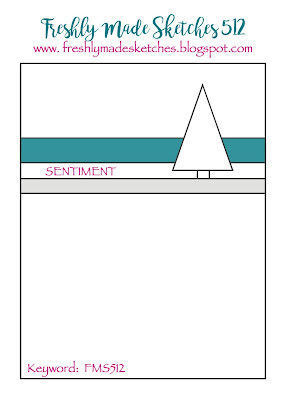
Today's card is for the Freshly Made Sketches #512 Sketch Challenge, (FMS512) from Kim. I've been challenging myself lately with the technique of distressing card bases and layers. To me the colouring of this piece of paper looked kind of vintage or aged, so distressing it is, well maybe just slight distressing - I'm learning :)
 |
| Click the image to visit FMS512 |
Please click on my card above or the FMS512 image below to visit their blog post and prepare to be inspired!
 |
| Click on the image to visit FMS512 |
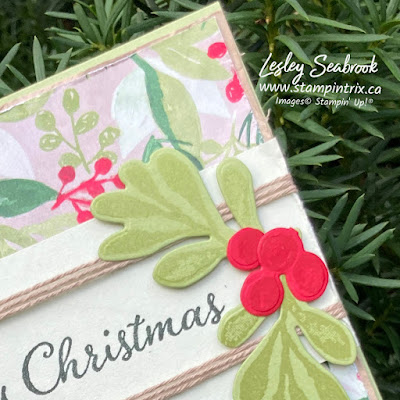
Crumb Cake and Soft Sea Foam?, a combination I wouldn't have thought to put together - but I love it! The colours come from the DSP, which is the best Trix, simply pull the colours from the DSP and create!
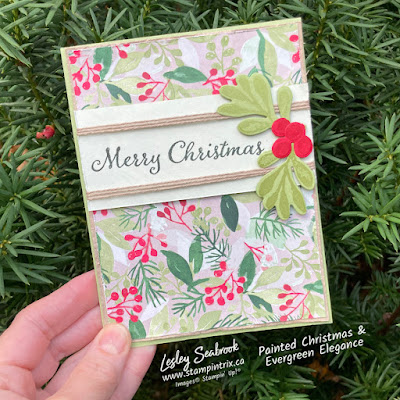
And here's the card details:
4 1/2 x 5 1/2 Pear Pizzaz card base (4 1/4 x 11 folded in have portrait orientation)
4 1/8 x 5 3/8 Crumb Cake cardstock (CS) layer
4 x 5 1/4 Painted Christmas DSP
1 1/2 x 4 1/8 Soft Sea Foam CS band layer
Extra piece of Soft Sea Foam and Real Red for die cut pieces
Painted Christmas DSP
Christmas Season Bundle
Evergreen Elegance Stamp Set
Inks: Evergreen Elegance; Real Red; Pear Pizzazz
Bakers Twine in Crumb Cake
***Click here to shop Lesley's Online Store
***** And don't forget the Host Code G6FBHW3E when shopping from my online store in November. When your shopping cart is $60 or greater I'll send you a thank you gift in the mail the following month with your thank you card :) *****
Assembly & Tix:
* Distress the edges of the Crumb Cake layer with scissors and adhere to the card base using Multipurpose Liquid Glue (glue)
* Distress the edges of the DSP and adhere to the Crumb Cake layer. ***Trix, take care when using the scissors on the DSP, it isn't as heavy as cardstock and it will rip very easily.
* Stamp Merry Christmas from the Evergreen Elegance stamp set using Evening Evergreen ink.
* Wrap Crumb Cake Bakers Twine around the Soft Sea Foam layer three times at the top and bottom of the layer. ***Trix, apply Stampin' Seal to the back of the layer to wrap and adhere at the same time.
* Distress only the sides of the Soft Sea Foam layer and adhere with dimensionals.
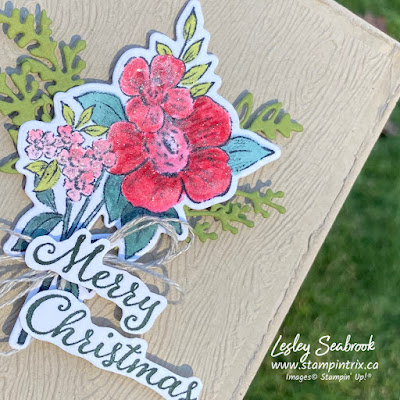
* Stamp then die cut the sprig and red berries, using the Pear Pizzazz and Real Red ink and CS. Adhere with dimensionals.
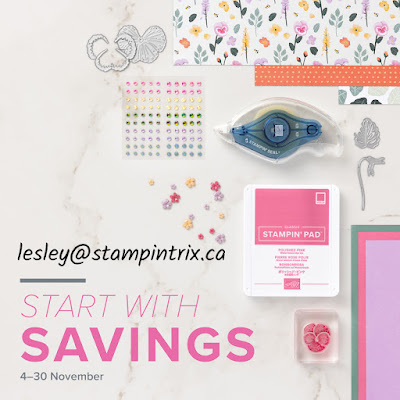
Start With Savings
Starter Kit Promotion
Available 'til Nov. 30th 2021
* The Stampin' Up!® Starter Kit is being discounted to $100 (usually it's $135)
* Choose up to $165 in Stampin' Up!® products of your choice
***Yes that is a $65 shopping spree!
 |
| Click the image to Join Lesley's group |
To order the $100 Starter Kit and Join my Stampin Trixsters Team, please click here
For more information, please email me at lesley@stampintrix.ca
I'm always happy to talk about the products and the company I love!
Questions?
Do I have to teach classes or demonstrate the product - No, you are simply purchasing a kit of supplies. I welcome all hobby enthusiasts to our little community. Choose the supplies you want in your kit and enjoy the ongoing perks Stampin' Up!® offers, or choose to move your hobby to a business, it's totally up to you.
Will I receive ongoing discounts? - Yes 20% future orders.
What's the catch? - I've heard there are quarterly minimums - what does that mean? Stampin' Up!® demonstrators receive 20 % off their purchases. To be eligible for the discount you need to spend $300 every 3 months. - However - this Special Promotion is extra special because it's November - part of the way through the final 'Quarter' of the year. That means you don't need to spend your qualifying $300 until April 2022.
Enjoy and have a super day!